Introduction
Both for security and efficiency, it is crucially important to know what you are deploying as part of any cloud-native application. Setting up poorly-configured deployments can lead to inefficient performance, which icreases costs of running your applications, or increases the likelihood of security issues. It is therefore important to keep abreast of what's best practice, and luckily there are a number of tools that allow you to check for misconfigurations, allowing you to concentrate on developing the best applications you can.
Checkov from Bridgecrew is an open-source static analysis tool for infrastructure as code. Static analysis, i.e. analysis of code without running it, is useful because you don't need to necessarily wait for a build to finish or pay for cloud computing resources to analyse the workings of the code that goes into building that infrastructure. This guide will run you through using Checkov to analyse Kubernetes objects such as deployments, but Checkov can also be used to audit other infrastructure-as-code files such as Terraform scripts. This makes it a powerful single tool to add to your continuous integration/continuous deployment (CI/CD) pipeline.
We will cover installation of Checkov, running it locally to analyse a Kubernetes deployment file, and also using it to assess a running cluster's objects. To follow along with the last part of the guide, you will need a Civo Kubernetes cluster. You can sign up here.
Checkov installation
Checkov can be installed in various ways, all covered on the official site. The easiest way, if you have Python and pip configured, is to run:
pip install checkov
Alternatively, if you are on MacOS and use Homebrew, you can install it directly by running
brew tap bridgecrewio/checkov https://github.com/bridgecrewio/checkov
brew update
brew install checkov
Checkov Usage
Checkov can be used to analyse a number of different infrastructure as code frameworks. As an example, you can view the full suite of tests that Checkov does for any Kubernetes object by running checkov -l --framework kubernetes.
At the time of writing, by default this command returns 139 separate analyses, some of which may not be appropriate for your use case or configuration. You can specify individual checks to skip, only run checks on particular namespaces, skipping, say, the kube-system namespace, or only run specific checks individually. These options are all covered in the Checkov official documentation.
Scanning individual files
You can point Checkov to scan an individual file by providing the filename after a -f switch. Say, for example, you had a deployment.yaml file that defined an nginx deployment on a cluster, such as this one from the official Kubernetes repository:
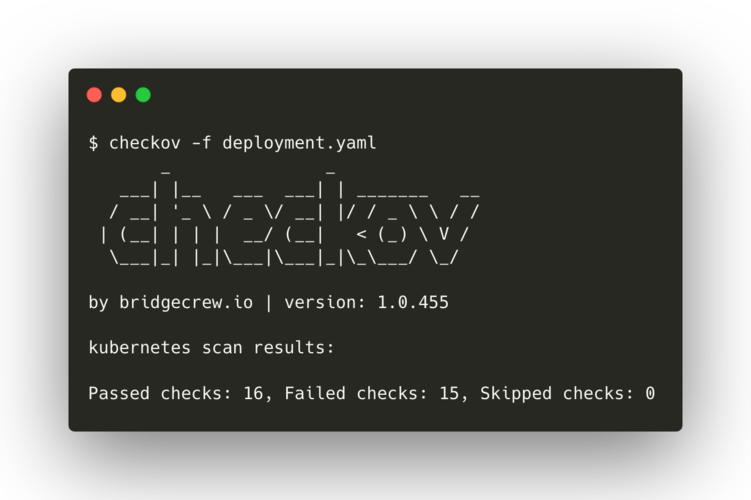
$ checkov -f ./deployment.yaml

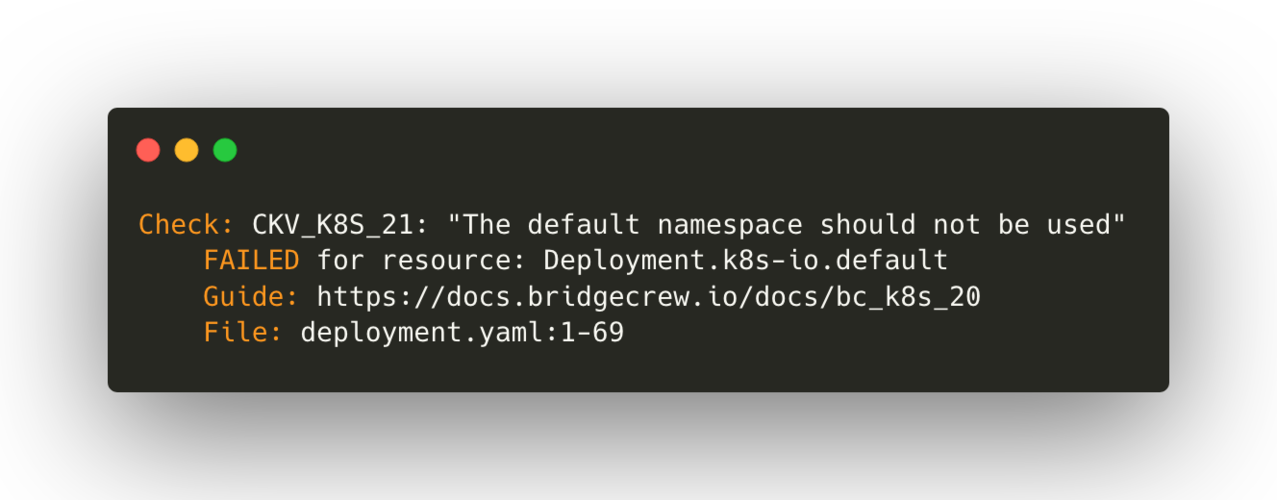
You will see that a number of the default checks fail in the case of this one deployment file. For each failed check, the program will offer a reason, a link to a guide for the issue and how to fix it, as well as the range of lines in the file concerned which caused the check to fail:

You can also scan multiple files by using the -d option, as in checkov -d /path/to/files/. That will automatically scan all recognised files in the directory, useful for CI/CD runs, for example. If you know that Checkov's rules are too particular for your use case, you could specify the rules to skip in the command using the -s <rule_ids> switch.
Use in CI/CD pipelines
Checkov offers integrations with common CI/CD pipelines out of the box, from GitHub Actions, to Jenkins, to Gitlab CI and more.
 (Image credit: Josh Hornsby/BridgeCrew
This is where the customisation of checks for your use case is paramount, as without a pass form Checkov, your runners will not complete. If you are managing a resource manually, for example, you should declare that the manifest should not be checked for that particular part. In Kubernetes, the manifest files should contain annotations for the check in the format:
checkov.io/skip#: <check_id>=<suppression_comment>
To use the nginx manifest file from the example above, we would have to edit in suppression lines for all non-relevant rules, such as:
apiVersion: extensions/v1beta1
kind: Deployment
metadata:
  name: k8s-io
  annotations:
    checkov.io/skip1: CKV_K8S_21=This needs to run in the default namespace, I know what I am doing.
  labels:
    app: k8s-io
    version: v1
spec:
  replicas: 2
...
Use in Kubernetes clusters that are already running
If you already have a running Kubernetes cluster, you can apply a special Checkov job manifest to your cluster that will analyse it without making any changes. You will then be able to view the result of the analysis as a Kubernetes job log. If you want to follow along with my steps, you will need to have a Civo Kubernetes cluster running, with kubectl installed, and access to the cluster's KUBECONFIG.
The full instructions are, as always, on the official site here, but I will reproduce the steps as well. Ensuring your kubeconfig context is pointing to your cluster, and run:
$ kubectl apply -f https://raw.githubusercontent.com/bridgecrewio/checkov/master/kubernetes/checkov-job.yaml

namespace/checkov created
serviceaccount/checkov created
clusterrole.rbac.authorization.k8s.io/checkov-view created
clusterrolebinding.rbac.authorization.k8s.io/checkov created
job.batch/checkov created
The job should be done in about 30 seconds, and you can view the status of its completion with kubectl get jobs -n checkov. Once it's complete, you can run kubectl logs job/checkov -n checkov to get a full log output of the cluster scan.
You will notice that you can't customise the checks to be run or skipped, so the job will run the entire test suite. So, while useful to see whether your cluster is well-configured in general, Checkov will not be able to account for any custom decisions you may have chosen to take when running on an existing cluster.
To remove the job and logs, you can run:
kubectl delete clusterrolebinding checkov
kubectl delete namespace checkov
Conclusion
Static analysis is useful for in-place code analysis, especially of long and occasionally unwieldy files such as YAML. By having a tool to analyse our configuration files for best practice, we can prevent misconfigurations and even potential security issues. Checkov is a tool for just that, with an ability to integrate into your continuous delivery pipeline, as well as customisation for your particular set of circumstances and configurations.
This guide was specifically focused on Kubernetes and static analysis of manifest files, but Checkov also has frameworks for Terraform and Cloudformation, meaning you can use a single tool to test a wide variety of Infrastructure as Code.
While intended primarily for pre-build checks, Checkov can be used to analyse a currently running Kubernetes cluster simply by applying a read-only job and viewing the logs.


