So, you want to restore a snapshot you have taken on our old style networking setup to a brand new shiny instance on our new style networking setup and it doesn't work! Well this is the guide for you on how to get around the networking issue.
As you probably already know, we have moved to a new networking layout which means if you have taken a snapshot from the old style networking and try to restore to a new instance, the routing will not work. In this guide we will show you how to resolve the routing issue if you ever need to perform a snapshot restore.
Restoring the snapshot
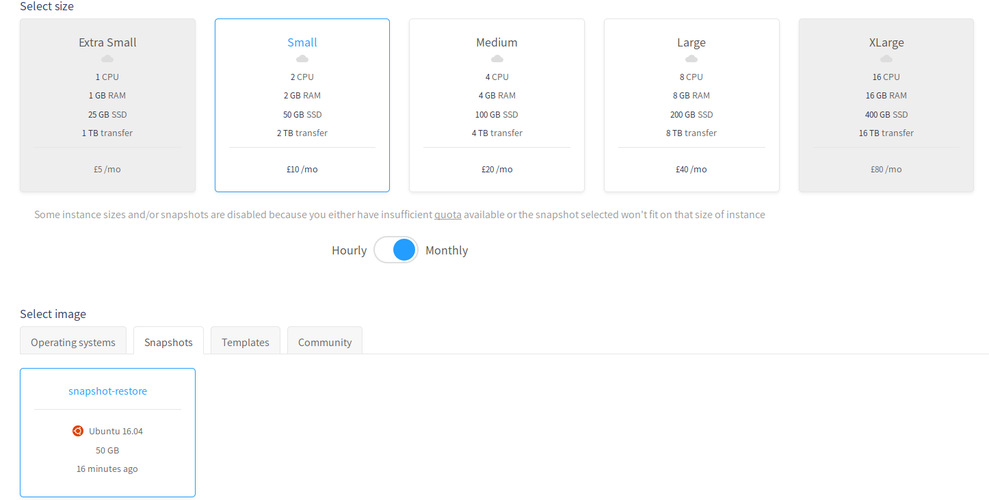
First of all, you will need to initiate a snapshot restore from your Civo control panel. To do this simply click on create instance and give it a hostname and size. Once done select the snapshot tab and select create instanceto launch a new instance using your snapshot.
IMPORTANT You must choose to use a username and password rather than an SSH Key when you launch the instance. You will need to login to the instance after it has built through the console.
Use the console to make the required changes
Once the instance has launched you will see it now has the new networking setup shown below:

At this time the instance will not be working because it doesn't know how to route traffic correctly. To fix this we need to login to the console and make some changes to the relevant network files.
- First click on the
consoletab and login using the username and password credentials shown when you dropdown the "View SSH information" option on the instance's page above.

- For Ubuntu, you need to edit the
/etc/network/interfacesfile using something likevimornanoand add the following:
auto ens4
iface ens4 inet dhcp
up ip route change default via 172.31.255.254

- For CentOS, you need to edit
/etc/sysconfig/network-scripts/ifcfg-eth1and add the following:
DEVICE="eth1"
BOOTPROTO="dhcp"
ONBOOT="yes"
TYPE="Ethernet"
USERCTL="yes"
PEERDNS="yes"
IPV6INIT="no"
PERSISTENT_DHCLIENT="1"
NM_CONTROLLED="no"

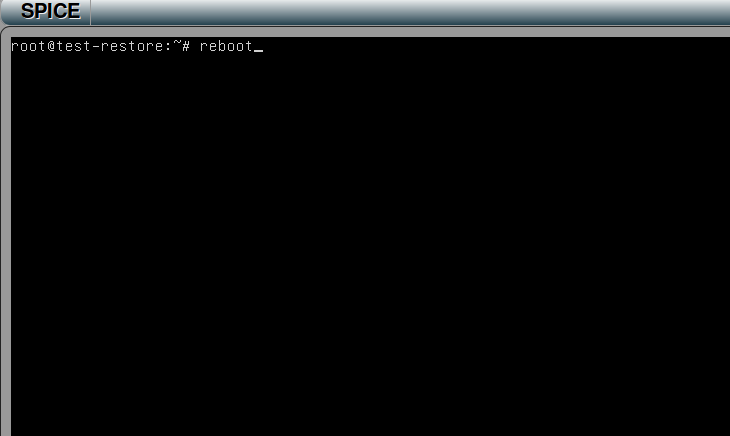
- Once added save and exit the file. You can now reboot the instance from the console and once it has rebooted, the routing will now work correctly and you will be able to use your new instance!