DNS Records
Introduction
A domain name is an identification string that maps to an IP address. It's a text that the end user will type in their browser's URL bar in order to access a specific resource on internet. For example, when a user wants to access Civo's website, the domain name that they need to use is civo.com.
The routing of these strings to IP addresses is being translated and handled by Domain Name System (DNS) where a DNS server stores cache data of domain names on the internet.
You can think of this DNS server like a contacts book where you save your family and friend names (domain names) and their phone number (IP addresses).
Your internet service provider (ISP) usually have a DNS server too as default DNS resolver for you. There are also alternatives available such as Google DNS, Cloudflare DNS and others. If you want to learn more about DNS and how the routing works when you hit a domain name in your browser URL bar, checkout this article.
At Civo, we offer domain and domain records (also known as "DNS records") management too where customers can configure their domain name to point to our nameserver and manage the domain's DNS records using Civo.com, Civo API, Civo CLI or Civo Terraform provider.
- Dashboard
- Terraform
With our DNS hosting feature, you can host your DNS records on our nameservers and update them using the same great API and control panel that you're used to.
Adding a domain name
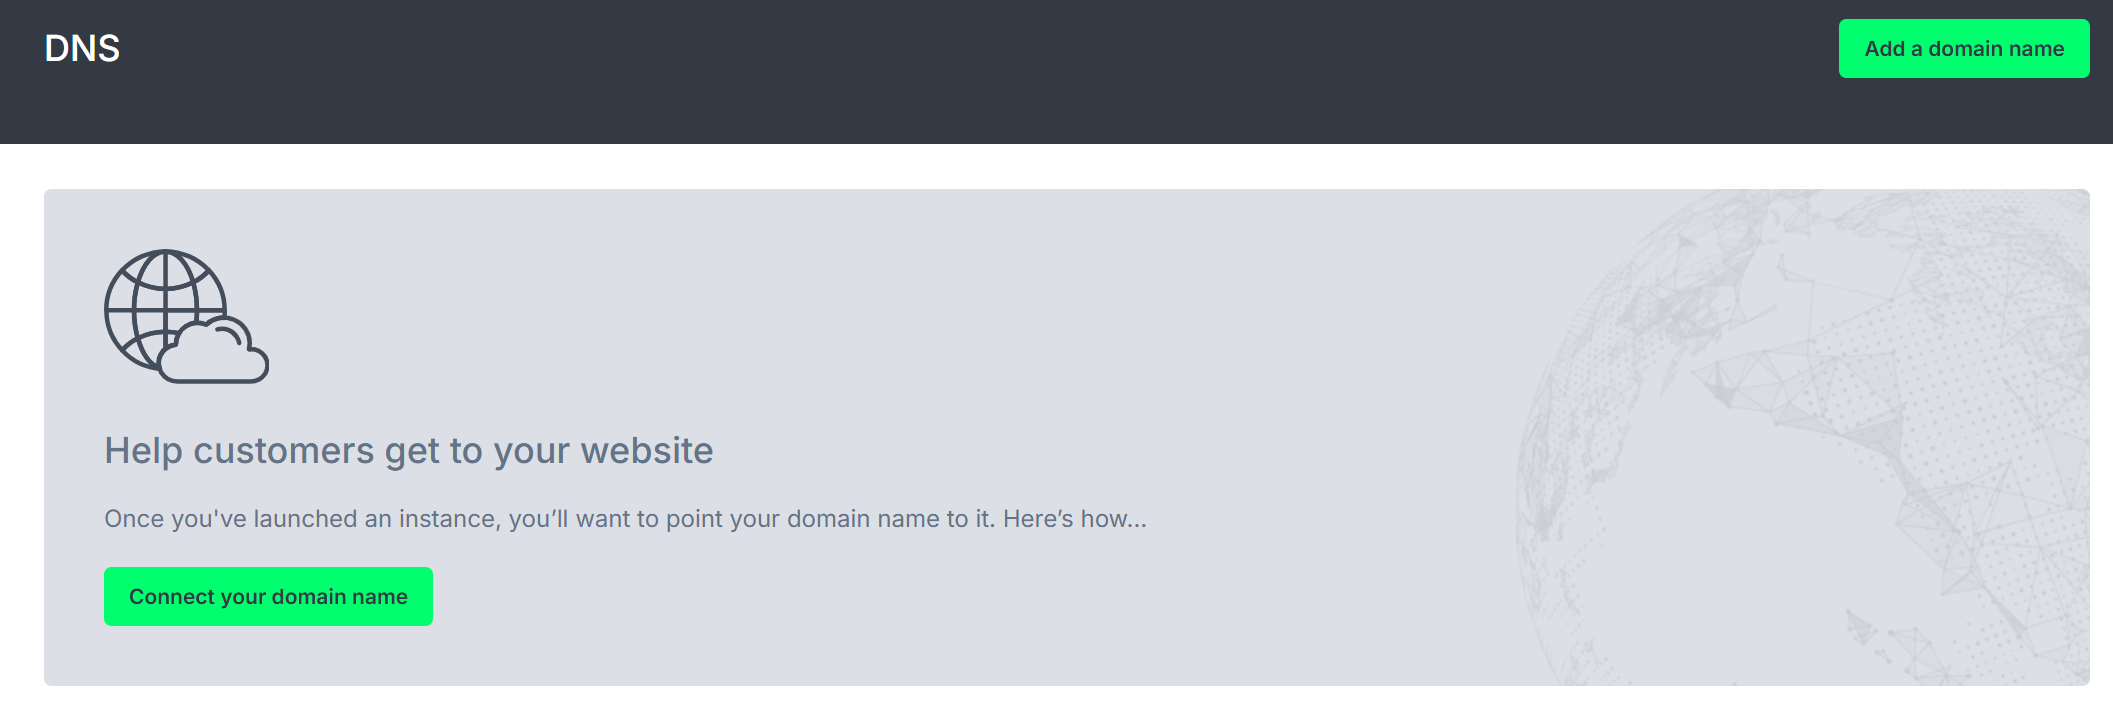
The first step is to click on "DNS" in the left menu to load the DNS section. Then click on the "Add domain name" button.
This will popup a simple form that lets you type in the domain name. We only allow one customer to host each domain name. If you try to host a domain name and it says that another customer is already hosting it, please get in touch so we can resolve who the real owner is.
Adding domain records
Once you've added the domain name, the next step is to click on the blue button alongside it to add records to the domain name.
On the resulting page listing all of the records, you should click the "Add record" button.
A popup a form that lets you choose the type of record to add and all its details.
Viewing your records
At any time you can click through from the "DNS" option in the side menu, to the blue records button alongside the domain name to go in to a confirmation of the records we're currently hosting for you.
We will explore the Civo Terraform provider method; with the following assumptions:
- Your domain name is
civo-terraform-provider-example.com - You have logged-in into your domain manager portal and set Civo nameservers as your domain's nameserver
Requirements
This guide assumes that you:
- Have a Civo account
- Have a Terraform project initialized (refer this guide for more details)
- Using Civo Terraform provider version 1.0.16 or later
- Have basic understanding of Linux commands and how to use them in terminal
Step #1 - Prepare configuration file
Let's first create a file named main.tf:
# Change directory to Terraform project
$ cd ~/civo

# Create the file
$ touch main.tf
Using your favourite editor (e.g. nano or VS Code), add the following code inside that file and save it:
# Create a domain name
resource "civo_dns_domain_name" "main" {
  name = "civo-terraform-provider-example.com"
}

# Create a domain record
resource "civo_dns_domain_record" "www" {
    domain_id = civo_dns_domain_name.main.id
    type = "A"
    name = "www"
    value = "246.122.242.184"
    ttl = 600
}
So what happen when we apply the configuration above?
- In the Create a domain name block:
- We are creating a new domain name using
civo_dns_domain_nameresource, and- Set the name to
civo-terraform-provider-example.com
- Set the name to
- We then can refer to this domain name as
civo_dns_domain_name.mainin other resources. For example, to get this domain's ID, we can usecivo_dns_domain_name.main.idsyntax.
- We are creating a new domain name using
- In Create a domain record block:
- We are creating a new DNS record using
civo_dns_domain_recordresource, and- Link it to the
civo-terraform-provider-example.comdomain above by settingdomain_idtocivo_dns_domain_name.main.id - Set the type to
Arecord - Set the record name to
www - Set the value for
wwwto246.122.242.184. This IP address is just for example. You can replace this with your Civo compute instance IP address. - Set the TTL to
600seconds
- Link it to the
- We are creating a new DNS record using
Checkout civo_dns_domain_name docs and civo_dns_domain_record docs for more information about them.
Step #2 - Plan
Now, you can run terraform plan command to see what's going to be created.
$ terraform plan
Terraform used the selected providers to generate the following execution plan. Resource actions are indicated with the following symbols:
  + create

Terraform will perform the following actions:

  # civo_dns_domain_name.main will be created
  + resource "civo_dns_domain_name" "main" {
      + account_id = (known after apply)
      + id         = (known after apply)
      + name       = "civo-terraform-provider-example.com"
    }

  # civo_dns_domain_record.www will be created
  + resource "civo_dns_domain_record" "www" {
      + account_id = (known after apply)
      + created_at = (known after apply)
      + domain_id  = (known after apply)
      + id         = (known after apply)
      + name       = "www"
      + ttl        = 600
      + type       = "A"
      + updated_at = (known after apply)
      + value      = "246.122.242.184"
    }

Plan: 2 to add, 0 to change, 0 to destroy.

──────────────────────────────────────────────────────────────────────────────────────────────────────────────────────────────────────────────────────────────────────────────────────────────────────────

Note: You didn't use the -out option to save this plan, so Terraform can't guarantee to take exactly these actions if you run "terraform apply" now.
As you can see from the plan output above, Terraform will add civo-terraform-provider-example.com domain name in Civo DNS system. And, under this domain, it will also create a DNS record (of A type), pointing to 246.122.242.184 IP address.
Step #3 - Apply
It's now time to create the actual domain and DNS record. Let's run terraform apply command. When it asks for confirmation, type yes and hit Enter key.
$ terraform apply
Terraform used the selected providers to generate the following execution plan. Resource actions are indicated with the following symbols:
  + create

Terraform will perform the following actions:

  # civo_dns_domain_name.main will be created
  + resource "civo_dns_domain_name" "main" {
      + account_id = (known after apply)
      + id         = (known after apply)
      + name       = "civo-terraform-provider-example.com"
    }

  # civo_dns_domain_record.www will be created
  + resource "civo_dns_domain_record" "www" {
      + account_id = (known after apply)
      + created_at = (known after apply)
      + domain_id  = (known after apply)
      + id         = (known after apply)
      + name       = "www"
      + ttl        = 600
      + type       = "A"
      + updated_at = (known after apply)
      + value      = "246.122.242.184"
    }

Plan: 2 to add, 0 to change, 0 to destroy.

Do you want to perform these actions?
  Terraform will perform the actions described above.
  Only 'yes' will be accepted to approve.

  Enter a value: yes

civo_dns_domain_name.main: Creating...
civo_dns_domain_name.main: Creation complete after 4s [id=e267ba23-e5f9-4ff2-9942-72b513d83cfe]
civo_dns_domain_record.www: Creating...
civo_dns_domain_record.www: Creation complete after 1s [id=1f54ada0-1eaf-4e4c-82bb-a32f8c389115]

Apply complete! Resources: 2 added, 0 changed, 0 destroyed.
When the creation completes, refresh your Civo web UI and you will see there's new domain name just get created.
And if you click on "Actions > DNS Records", you will see the A record for 246.122.242.184 IP address.
If you notice, there will be a new file named terraform.tfstate get created for you in your local project directory. And, if you print its content, it will look like:
$ cat terraform.tfstate
{
  "version": 4,
  "terraform_version": "1.1.7",
  "serial": 37,
  "lineage": "11e2d21c-43f7-f4fc-51d6-cfa40e143814",
  "outputs": {},
  "resources": [
    {
      "mode": "managed",
      "type": "civo_dns_domain_name",
      "name": "main",
      "provider": "provider[\"registry.terraform.io/civo/civo\"]",
      "instances": [
        {
          "schema_version": 0,
          "attributes": {
            "account_id": "6aea8bc6-7de8-43cf-80a2-a0aa732a3f11",
            "id": "29ff0b39-1be2-4d07-b272-0dd4ddaa4b6b",
            "name": "civo-terraform-provider-example.com"
          },
          "sensitive_attributes": [],
          "private": "bnVsbA=="
        }
      ]
    },
    {
      "mode": "managed",
      "type": "civo_dns_domain_record",
      "name": "www",
      "provider": "provider[\"registry.terraform.io/civo/civo\"]",
      "instances": [
        {
          "schema_version": 0,
          "attributes": {
            "account_id": "",
            "created_at": "2022-04-11 09:12:01 +0000 UTC",
            "domain_id": "29ff0b39-1be2-4d07-b272-0dd4ddaa4b6b",
            "id": "2fcb5822-3c27-45b4-9634-6051511ea3bb",
            "name": "www",
            "priority": 0,
            "ttl": 600,
            "type": "A",
            "updated_at": "2022-04-11 09:12:01 +0000 UTC",
            "value": "246.122.242.184"
          },
          "sensitive_attributes": [],
          "private": "bnVsbA==",
          "dependencies": [
            "civo_dns_domain_name.main"
          ]
        }
      ]
    }
  ]
}
That's the Terraform state file that was created after you created the domain and DNS record just now.
When you update your main.tf file and run terraform apply again, Terraform will refresh the state file, try to understand what you want to update and update your domain/DNS record.
If there's no change in your main.tf file and you rerun terraform apply, it will output No changes. Your infrastructure matches the configuration. message back to you.
So now you know how to create domain and DNS record using Terraform. Good job! Let's move on to the next guide to see what else can be done using Civo Terraform provider.